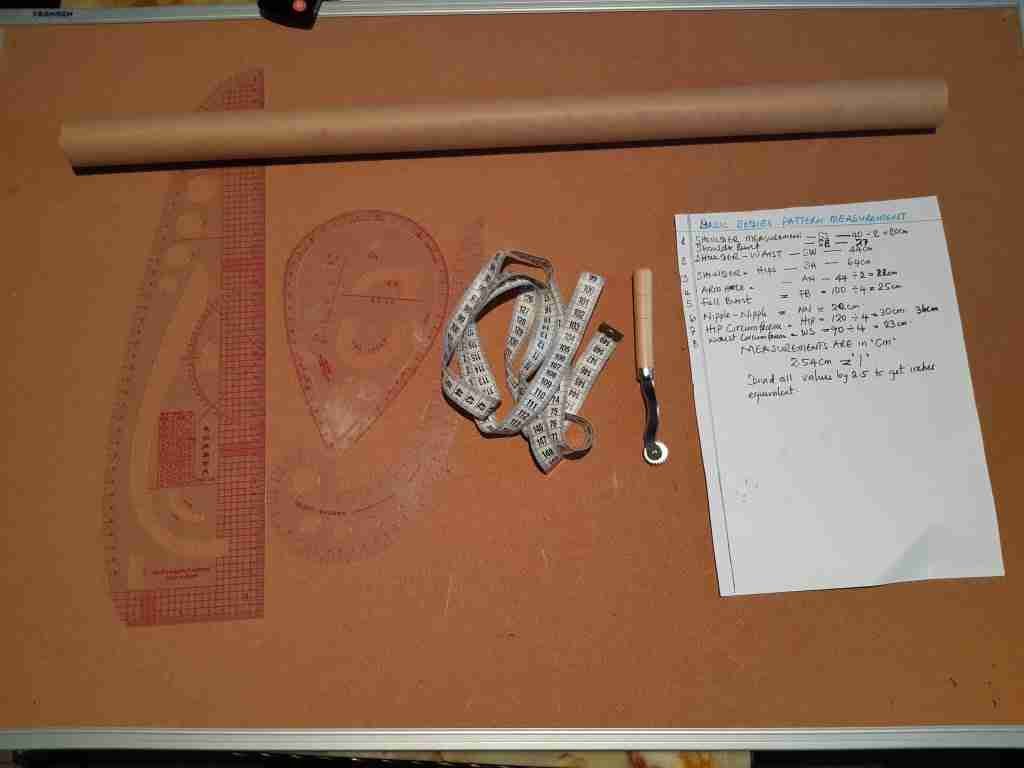
A basic sleeve is part of the basic body block pieces.If you have not created your basic front and back top body block,not to worry.
Here is a blog post to guide you .Or if you are not too keen on reading,you can watch the video here.
In this blog post, I will be showing you how to draft one of the basic bodice block: simple basic sleeve.
The basic block pattern is much simplier than the top front and back basic blocks.
ITEMS NEEDED FOR YOUR SIMPLE BASIC SLEEVES
Measuring tape
ruler
marker pen
pencil marker
eraser .
A paper containing your needed measirements
You need the ruler to draw some straight lines and the french curve to draw the arm hole curve.

MEASUREMENTS NEEDED FOR THE SLEEVE BLOCK
you’ll need to take the following measurements for your basic sleeve.
your sleeve length, around your biceps, around your elbow,and around
your wrist.
And your arm size, which is around your top arm, just to double-check
the pattern when you are done.
so once you have those measurements taken ,Then you are ready to draft your simple basic sleeve
STEPS TO CREATE THE BASIC SLEEVE
First, roll out a subsequent amount of pattern paper. Cut out as much as you need. Just ensure the width of the paper should be more than your bicep so you’re sure that it actually fits.
The next thing is to mark the length of my basic sleeve.
That’s from the top of my shoulder all the way to my wrist, so I’m going to have to draw a straight line. Before you draw the line, make sure that the line is actually straight.
So double-check with your tape measure to the edge.
Once you are done with that, the first thing you are going to do is mark 20 cm (8 inches) down from the start of the sleeve, and that would be your biceps
Then mark about 16 inches (6.5 6.5inches) below the biceps, which would become the
elbow point.Lebel those points as seen below.


Alternatively, you can divide the distance between your shoulder and your elbow by two to get your bicep point.
Divide your wrist circumference by 2 and draw the line at the end of the sleeve length.
Divide your bicep circumference by 2 and add 2 cm or 1-inch and mark it on the bicep line.
DRAWING THE ARMHOLE
Draw a rectangular line starting from the shoulder point down to the bicep line.
Use your tape and measure the line.
Divide this measurement you get by 2 to get the midpoint.
Mark the midpoint on the line. At that mid point, come down 1.2 cm
To get the front curve of your armhole, use your curve ruler and draw a curve from the shoulder to the 1.2 cm dropdown point.
Your curve should be outside of the rectangular line. Take your curved ruler again and draw a curve from the 1.2 drop down to the bicep line.
This second curve is not too broad.


And is drawn on the opposite side B of the rectangular line.
For your back arm hole, draw from the shoulder point line to the midpoint of the rectangular line. From the midpoint of the rectangular line to the biceps point.
When you’re done with that, draw a straight line from the bicep points to the wrist point.
And then you can see the shape of your sleeve.
The last thing you need to do is to mark your sewing ease, which is about 1.2 at the top of the sleeve from the grain line.

Please watch the video below to be able to really understand everything I’ve written here and follow along perfectly.When you are finished with your sleeve,always check it with your body block.
This is just to be sure that everything is okay.
CONCLUSION
I hope this blog on how to create your simple basic sleeves has helped you to create your own sleeve block.
Have you tried it?how did it turn out?If you have any suggestions or challanges,do not hesitate to coment below.
HERE IS MY GIFT TO YOU TO HELP YOU IN YOUR PATTERN DRAFTING.
Remember to follow me on pinterest


