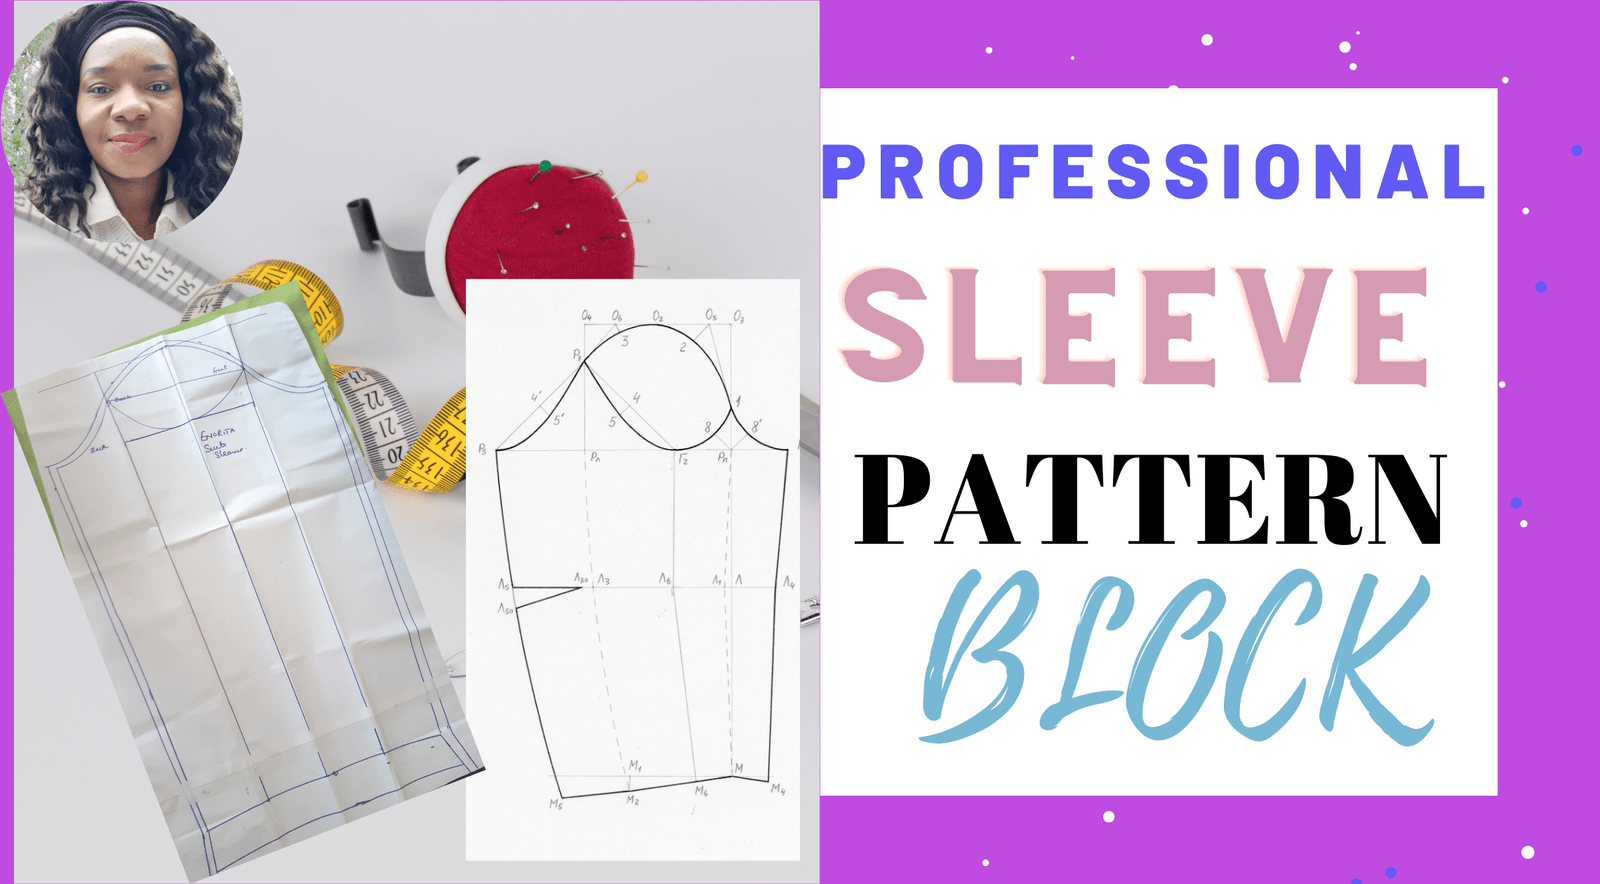
If you’re reading this post it means you want to make a professional suit. In this block post, I will be talking about how to draft a professional sleeve block pattern.
Before we get into the details, ensure that you have created your basic bodies front and back pattern.
If you’re a beginner it is best to first read my blog post on creating your basic sleeve block. Without wasting time let’s start to create our professional sleeve block.
ITEMS NEEDED FOR DRAFTING PROFESSIONAL SLEEVE BLOCK
The items needed for drafting the professional sleeve block include
1 Measuring tape
2 curve ruler

- Tracing wheel
- Straight ruler
- Pattern paper.
- call marker
- scissors
- papper containing your measurements
MEASUREMENTS NEEDED FOR PROFESSIONAL SLEEVE BLOCK
1.Shoulder to wrist
2,Underarm to wrist
3.Upper arm circumference
4.Circumference
5.back arm hole measurement from body block pattern
6.Front arm hole measurement from body block pattern
TRANSFERING OUR MEASUREMENTS TO OUR PATTERN PAPER
On your pattern paper, draw a long horizontal line.
This represents your shoulder to wrist measurement .For me it is 61 cm.
Divide your wrist circumference measurements by 2.Mine is 28.8 divided by 2 that give me 14.4 cm.
Place this measurement equally on both sides of the drawn line at the wrist measurement. That is 7.2cm on each side of drawn line.
Mark the under arm to wrist measurement + 2 cm ease .
Divide your upper arm circumference by 2 for me that is 38 ÷ 2 which is equal to 19cm.
Spread this equally on both sides of the horizontal line. That is 9.5cm on either side of the horizontal line..
Draw a base line at the top of the horizontal line.If you dont understand,watch the you tube video below.
Draw a straight line joining the wrist and the upper arm line all the way to the top base line.
CREATING THE EYE OF THE ARM HOLE
To create the “the eye of the armhole”find the center point between upper base line and bicept line.
Mark these positions on both sides.
lebel your front and back side of the armhole.For the back side,mark 0.6cms above center line.For front side of armhole,mark 1cm below the center mark.Please watch the video above to do it properly.
Draw a line connecting the two points.
Using your french curve,connect the back middle point to the upper arm line.Connect also the front midpoint to the upper arm line.
Do same connection to the upperbase line using the french curve.
Now the shape you will get at the end is what is called” THE EYE OF THE ARM”

To confirm that everything is correct,measure round the eye of the arm and compair it to your total bodyblock armhole circumference.
My eye of the arm is 52cm
My total armhole circumference is 54cm.
Your eye of the arm should always be about 2cm or 1.inch smaller than the total armhole circumference of your bodyblock.
If your arm eye is too big,you can do two things:
Reduce the horizontal line or the sleeve cap line a litttle bit .And vice versa if it is too small.
COMPLETING THE PROFESSONAL SLEEVE BLOCK
To complete the professional sleeve block,fold the paper on both sides of the side lines of the arm eye.
Use your tracer to trace the side lines as shown in the video.Open tha paper flat and trace the markings with your colour marker
This completes the full sleeve head as seen in the picture below.

Now put your 1 inch sewing allowance round the sleeve.At the bottom of sleeve,add 2 inches.Please note that when joining the seem allowance at the ottom,the lines are not straight.
CONCLUSION
Congratulations on creating your professional sleeve block.I hope everything went smooth and well for you.
How did your sleeve turn out?
lease dont hesitate to comment and let me know your experience.
If you encountered any challenges,also comment and I will get back to you as soon as possible.
Dont forget to follow me on pinterest.


