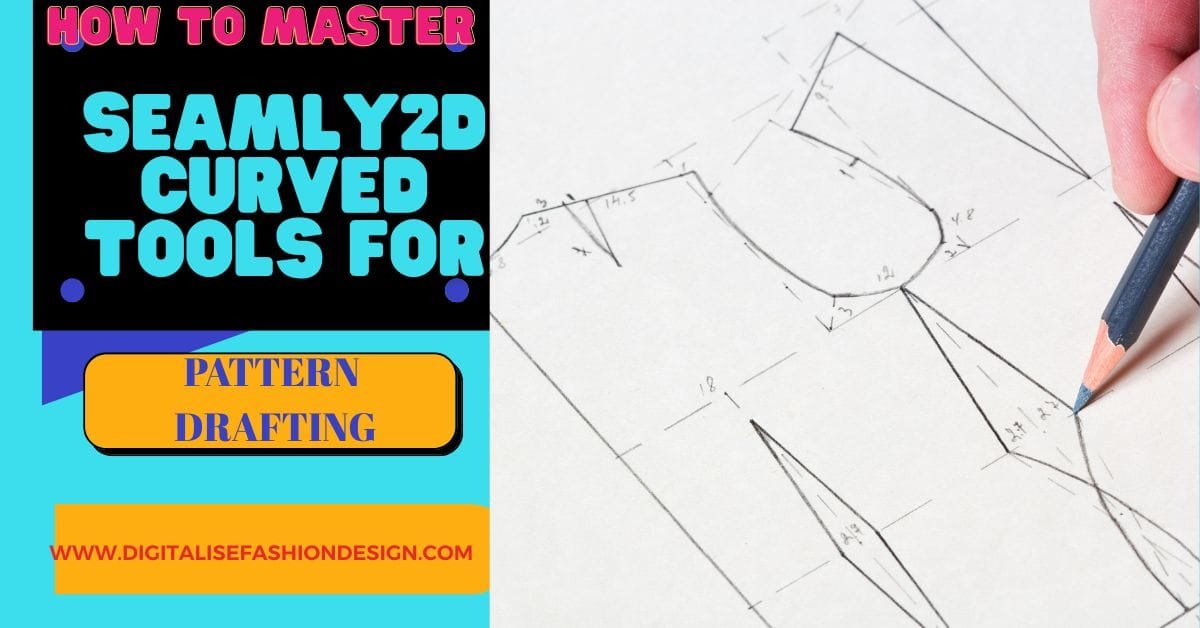
Introduction
Mastering Seamly2D curve tools is essential to draft your patterns on seamly2D
If you’ve ever tried to draw a perfect sleeve curve by hand and ended up with something that looks like modern art, you’re going to love this one.
Seamly2D curve tools take the guesswork (and eraser dust) out of shaping patterns—and once you get how they work, you’ll wonder why you ever fought with French curves in the first place.
DOWNLOAD FREE MEASUREMENT SHEET FOR SEAMLY2D MULTISIZE TABLE

—curves This is episode two of the Seamly2D Basics series, so if you missed episode one on points and line tools, go watch/read that first. Trust me, you’ll need it—curves depend on those points and lines to behave properly.
Let’s get into the C tools—the ones that turn your flat, boxy shapes into patterns that actually fit human bodies.
The Interactive Seamly2D Curve Tools
The Interactive Curve is the MVP of Seamly2D curve tools.
Think of it as your adjustable sleeve curve, neck curve, or anywhere you need a smooth, flexible line. It only needs two points to start, but it’s fully customizable.
You can pull and drag the handles to shape it exactly how you want—like contouring fabric around the bust or adjusting a neckline until it looks just right. But here’s the catch: if you’re creating graded patterns for multiple sizes, you can’t just eyeball it.
Seamly2D is a parametric CAD system, which means it thrives on variables, not vibes. You’ll need to define those curve angles and lengths so the software can scale them properly.
YOU CAN WATCH THE YOUTUBE VIDEO HERE
Right-click your curve, head to Properties, and you’ll see angle and length values. Copy those numbers and assign them to variables—for example, base your curve on measurements like A9 to A10 (chest line) or A4 to A5 (bust line). Once you link your curve’s math to those points, Seamly2D automatically adjusts it for different sizes.
Yes, it sounds mathy. But it’s the kind of math that saves you from redrafting the same sleeve curve 15 times. Once your variables are set, resizing patterns becomes automatic and precise.
The Fixed Seamly2D Curve Tools
If the interactive curve is the flexible friend, the fixed curve is the one who sticks to the plan.
You use this when you want a curve that never changes—like a skirt hem or a decorative edge that’s identical across all sizes.
Click, connect your points, and that’s it. The curve is locked. You can’t drag it, can’t bend it, and can’t persuade it.
It’s ideal for pattern sections where consistency matters more than fit adjustments.
It might sound limiting, but fixed curves are a lifesaver when precision is non-negotiable—for example, maintaining identical flare or hem shapes across pattern pieces.
OTHER RELATED BLOG POST


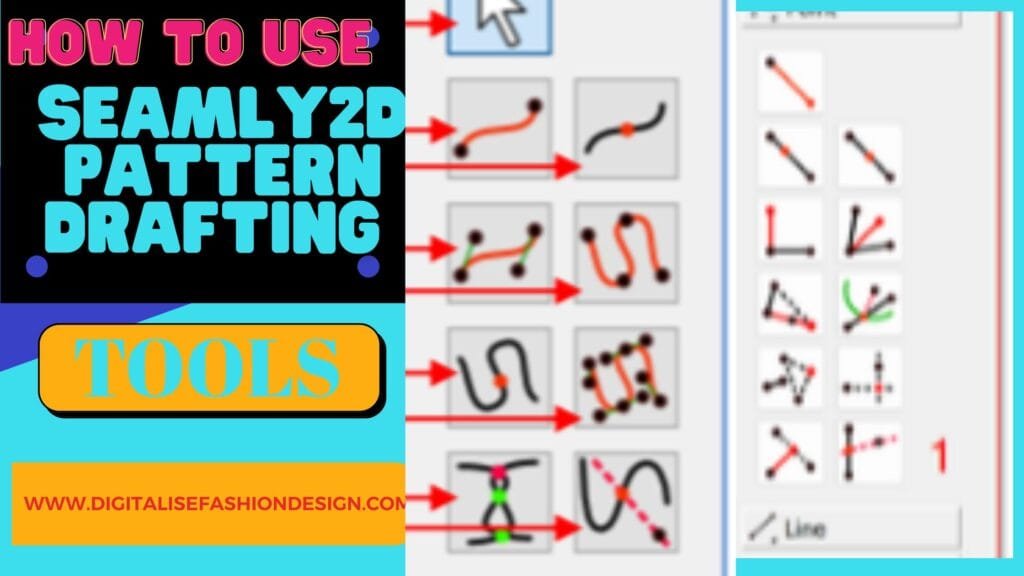
Creating Points on a Curve
Sometimes you just need to mark a specific spot along a curve—maybe one centimeter from the neckline edge or halfway down a sleeve curve. That’s where Point on Curve comes in.
Select the curve, tell Seamly2D whether you’re measuring from the start or end, and enter the distance. Boom—a new point appears exactly where you need it.
It’s ridiculously useful for defining bust points, dart placements, or alignment marks when sewing pieces together later.
Curve Intersection: When Two Curves Meet
When two curves cross, Seamly2D can automatically find the intersection point for you. Just select the Curve Intersection tool, click both curves, and Seamly2D drops a point where they meet.
This is especially handy when drafting armholes, princess seams, or overlapping contour lines—anywhere you need the software to do the geometry instead of guessing with your eyes.
The Spline Tool: Long, Smooth, and Smart
Next up are the Spline Tools, which are perfect for drawing long, continuous curves that connect multiple points. Think of them as the marathon version of the curve tool.
When you’re plotting out the front or back of a bodice—connecting the shoulder, bust, and waist—the spline lets you join several reference points in one smooth motion.
To use it, click through all your key points (A12, A9, A8, A10, etc.) and hit Enter when you’re done. You can tweak the control points afterward to smooth the curve.
If you’re building full-length curves, like for dresses or trouser legs, splines give you that professional, seamless flow that looks clean when you extract your final pattern.
CHECK OUT MY AMAZON RECOMMENDED PRODUCT
Fixed Spline: The Non-Negotiable Version
The fixed spline is basically the same as the spline, but once it’s drawn, it doesn’t budge. You’d use it for something like a flared skirt or a sleeve where you already know the exact contour you want to maintain.
Since it’s uneditable, double-check that all your points align properly before you commit. It’s a one-shot deal—but the reward is a consistent, repeatable curve every time.
Point on Spline and Line-Spline Intersection
Two more tools worth knowing:
- Point on Spline: Works just like Point on Curve, placing a reference mark anywhere along your spline. Great for marking notches or grainline placements.
- Line and Spline Intersection: Finds the exact spot where a line crosses a spline. Perfect when you’re shaping darts, yokes, or style lines that intersect with curved seams.
Together, these tools give you total control over how your lines and curves interact—no guessing, no misalignment, just clean geometry.
Why These Seamly2D curve Tools Matter
Here’s the thing—once you understand how to use Seamly2D curve tools, you stop fighting the software and start designing with intention.
You can build patterns that scale automatically, look professional, and fit consistently across sizes.
And if you’re coming from traditional drafting, this is where digital really pays off. No redrawing curves for every size, no tracing mess.
Just variable-based precision with all the creative flexibility you already have on paper.
What’s Next
That wraps up episode two of Seamly2D Basics. You’ve got the lowdown on Seamly 2D curve tools and spline tools—the ones that give your patterns shape, movement, and real-world fit.
Next up: Episode Three, where we get into arcs and circles. Trust me, that’s where your digital pattern pieces start behaving like real garments.
Until then, open the Seamly2D curve tools and play with these tools. The more you experiment, the more you’ll realize just how powerful this free CAD software really is.
Check back for more content—and keep those curves smooth.